🏞️
PicStork User Manual
  • Introduction to PicStork
  • 1. Dashboard
  • 2. Projects
    • 2.1 Images
    • 2.2 Annotation and Setup
    • 2.3 Report
    • 2.4 Manage Access
  • 3. Data Uploading
    • 3.1 Images
  • 4. Create a Task
    • 4.1 Create Annotation Report Task
    • 4.2 Create Training Task
      • 4.2.1 Using Image Files
      • 4.2.2 Using Orthomosaic Maps
    • 4.3 Create Detection Task
      • 4.3.1 Creation of Detection Task From Training Task
  • 5. Fine Tune Your Analytics Report
    • 5.1 Exploring Analytics Output
    • 5.2 Inspection and Manual Annotation
    • 5.3 Generating Report
  • 6. Handling Manual Annotation
    • 6.1 Define Manual Annotation Task
    • 6.2 Handling an Image Set
    • 6.3 Perform Manual Annotation
    • 6.4 Generate Report
  • 7. Teams Management
  • 8. Task Management
  • 9. Inspect Thermal Images
  • 10. Settings
Powered by GitBook
On this page
  • 2.2.1 Annotation
  • 2.2.2 Setup
  1. 2. Projects

2.2 Annotation and Setup

Previous2.1 ImagesNext2.3 Report

Last updated 1 year ago

2.2.1 Annotation

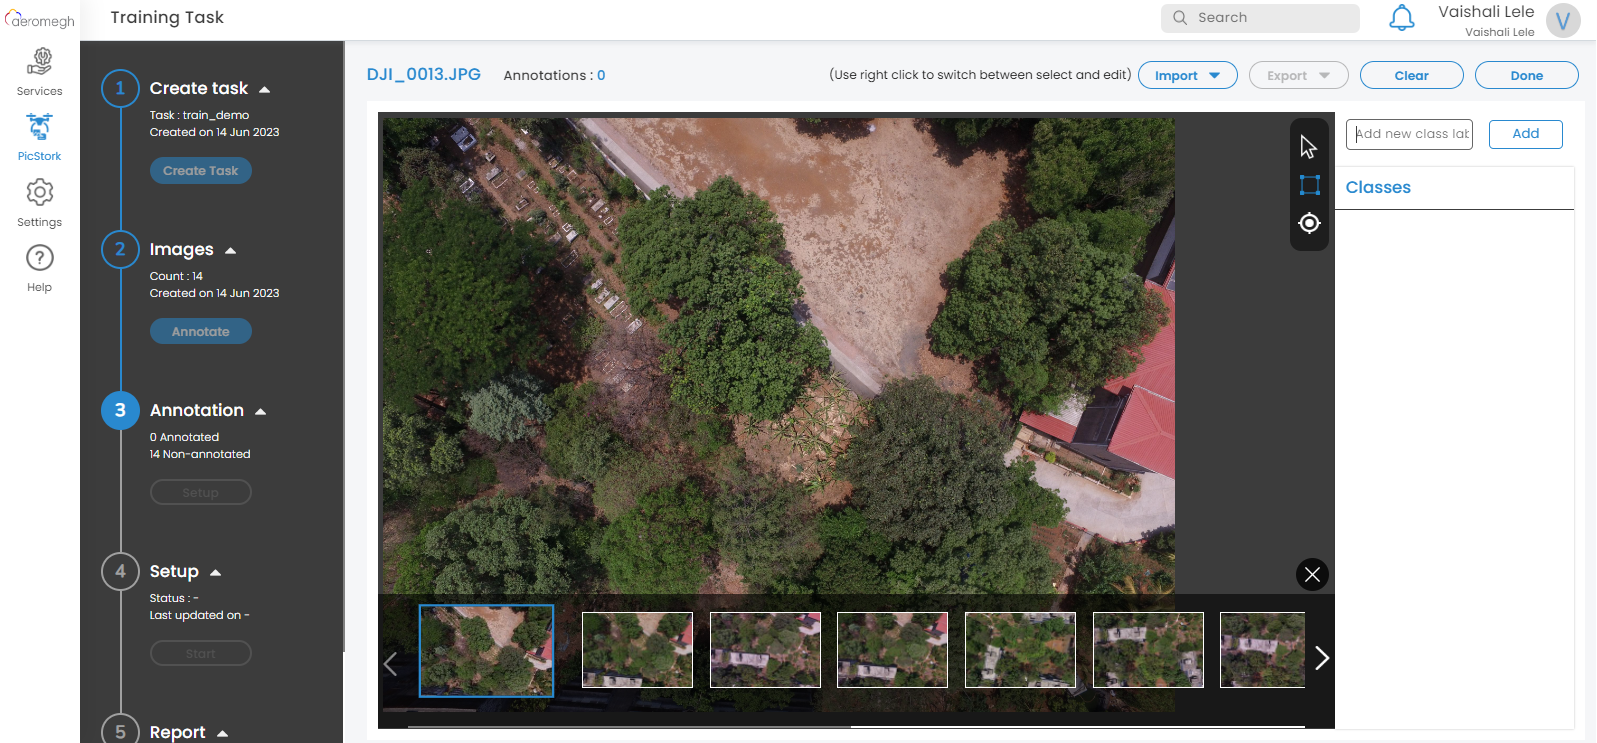
Annotate the images manually by adding the classes of objects by clicking on "+" sign as shown in the image below.

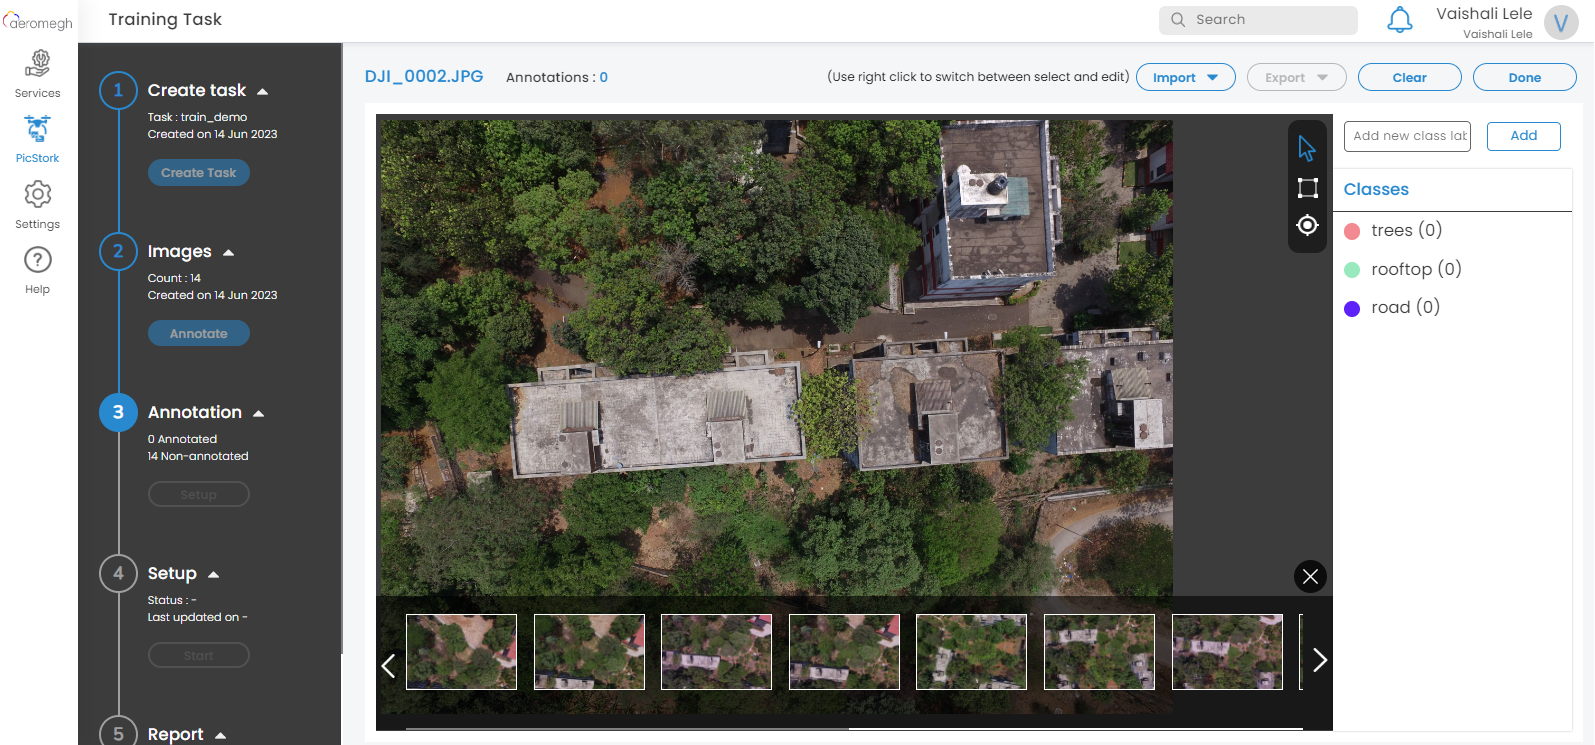
Add the desired classes for annotation. Perform manual annotations on all the images as shown. Annotate the maximum number of objects to get the better accuracy of the result.

Click on the "Done" button when completed with annotations of all the images. Try to annotate as maximum as possible objects in every image.

2.2.2 Setup

Once finished with annotations of all images, click the "Setup" button. The task will be created successfully with imagesets and annotations of the images. The task will be in a pending status while is it processing. Once completely processed, the task status will be intimated through mail.

Annotate the Images
Annotate Images by Adding Classes